Thanks for all of your kind comments regarding our trip to Playa del Carmen. The kids and I love traveling (King Thing kinda does but prefers spend his days holding the sand down in Norfolk) and hope to do more in the coming years. I still can't get over how blue the water is. I just close my eyes and imagine it over and over and over again.
So back to the real world. I can't complain. I believe that the mountains of SW Virginia are gorgeous in the spring and summer. Everything is so green and I love hearing the peaceful chirping of the buggies and froggies (as long as they keep their distance) at night. I'm sad that the summer is already half gone. As much as I love the fall, I'm cringing at the thought of cold weather - brrrrrr.
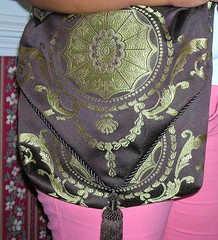
My sewing machine has been buzzing with activity since a dear friend (Thanks TM!) gave me the Simply Sublime Bags last week. I've enjoyed repurposing fiber and fabrics over the last few years and this book certainly feeds into that addiction. However, I initially had a tough time finding good materials to make some of the stuff from the book so I improvised using what I could find which was a $5 tablerunner at Ross. Scroll down if you want to see the Tute for the Fancy Schmancy Messenger Bag.
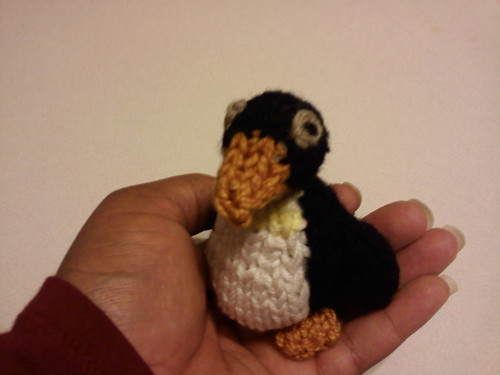
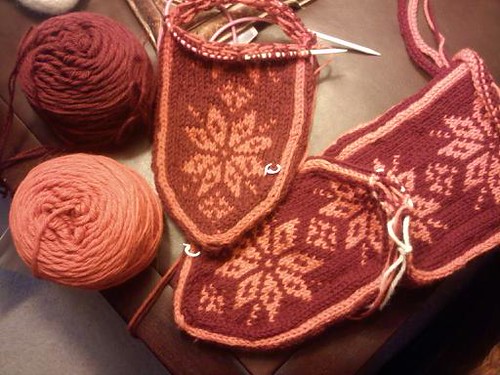
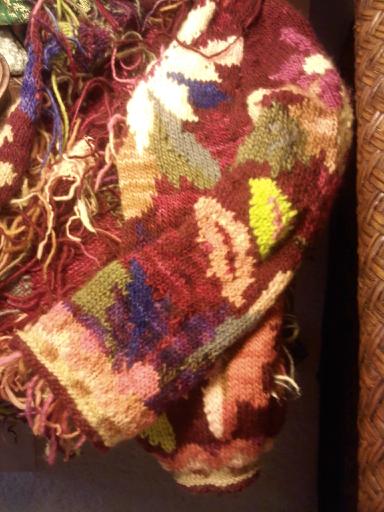
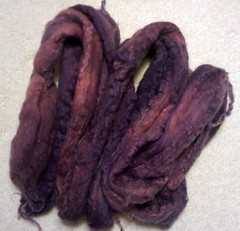
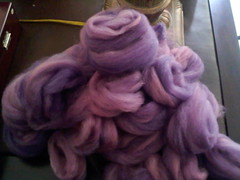
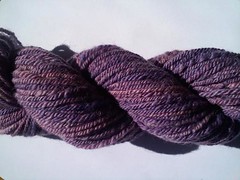
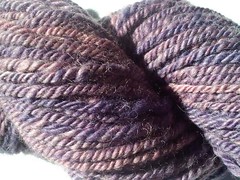
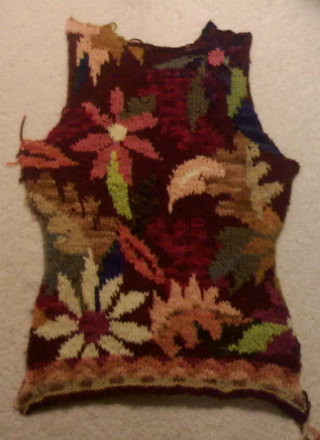
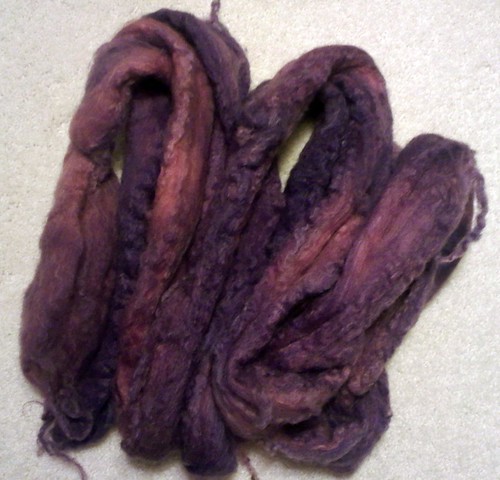
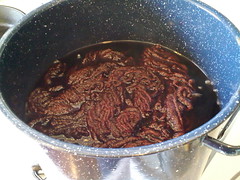
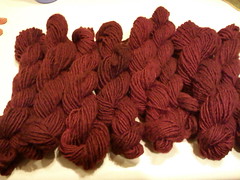
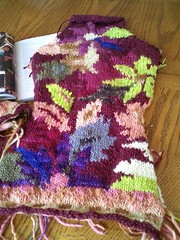
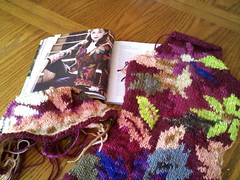
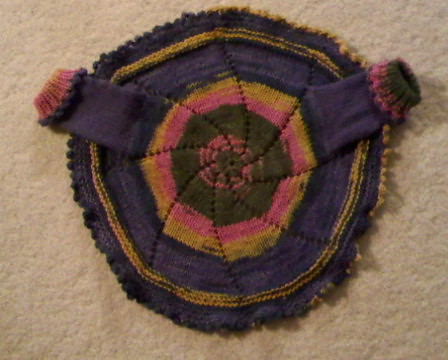
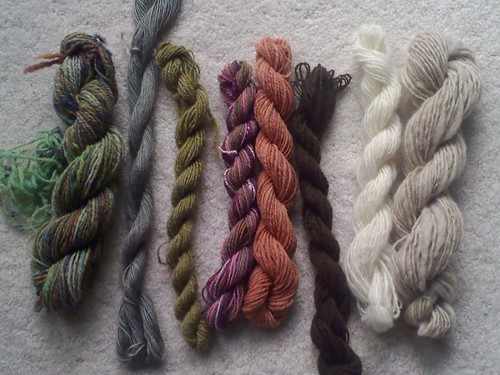
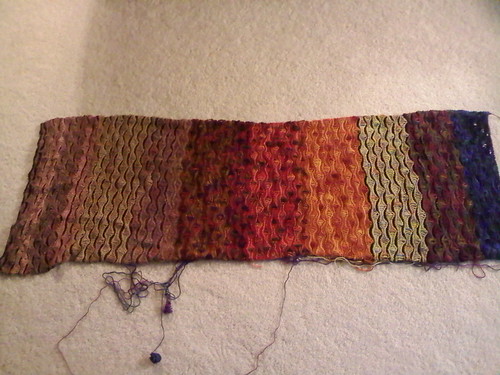
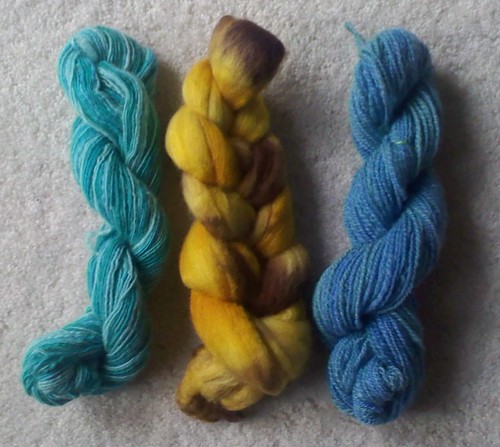
No need to worry. I HAVE been knitting, spinning and even dipping into the dyepot. I'll flash those pictures in another post.
Fancy Schmancy Messenger Bag Tutorial
I was inspired by the new
Simply Sublime Bags book to make a messenger bag from a $5 tablerunner I scored on a recent shopping trip. I decided to photograph the process, in case I wanted to replicate it and am happy to share it with others who might want to make their own bag. The great thing about making this bag from a tablerunner is that its already lined. You could easily whip up a bag and use it the same day!
Please be kind with your comments as I'm still fumbling my way through sewing terms and techniques (I
KNOW knitting but have never really understood all of the sewing jargon even though my crafty adventures began with sewing when I was four). If there are any glaring mistakes, please drop me a line at
indigomuse AT verizon DOT net so that I can correct them for everyone's benefit. If you visit the
Fancy Schmancy Messenger Bag Flickr set, I've added notes to many of the photos to help with the process. Finally, send me photos or links to your bags if you decide to make one using this tute. I'd love to see how they turn out. Enjoy!
Materials:1 90" x 14" tablerunner
Coordinating thread
Fray check (optional)
2 rectangular metal D-rings (optional)
Magnetic closure (optional)
1.) Cut runner in half and put one piece aside to be used for the straps (and perhaps make another little bag).
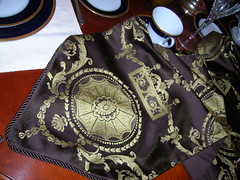
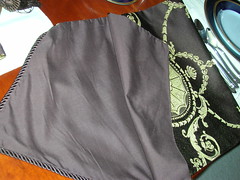
2.) Using 1/4" seam and RS facing, finish the cut edge.

3.) RS tog, fold fabric in half (measurement from bottom to finished edge is 11 1/2"). Pin sides together and using 1/2" seam, stitch closed, backtacking ends.

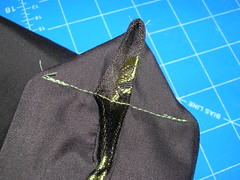
4.) Flatten corners of bottom to points (WS facing). Draw 2 1/2" line perpendicular to side seam and 1" from the corner point. Sew on line, backtacking ends.
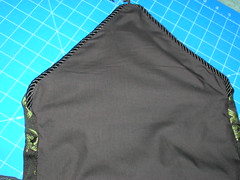
5.) Turn bag RS out and fold edges of flap in 1/2". Whipstitch into place, taking care to stitch through the lining only.
6.) Cut 2 22" x 3 1/2" straps from other section of runner.
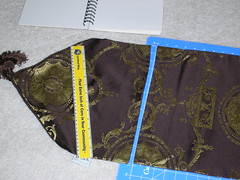
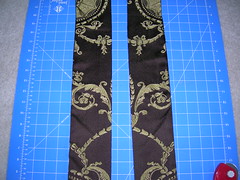
7.) RS facing and using 1/2" seam, stitch two of the short ends together. Press open seam and top stitch on each side. Fold strip in half lengthwise. RS facing, pin sides together and sew the length of the strap using 1/2" seam. Backtack ends.
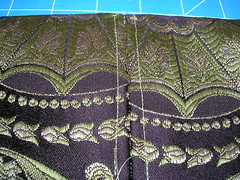
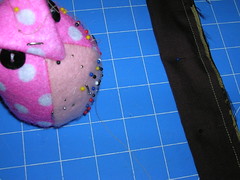
8.) Turn tube inside out, press flat and top stitch edges using 1/2" seam. Serge or finish ends of tube with zigzag stitch and apply fray check (optional).
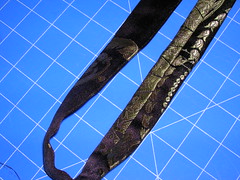
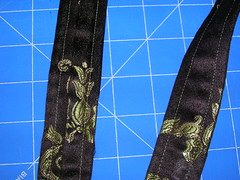
9.) Using remaining fabric, cut piece measuring 7" x 3 1/2". Fold in half lengthwise and stitch as for strap. Cut finished piece in half and finish edges with zigzag stitch and fray check (optional).
10.) Fold one of the short strap pieces in half (RS facing) over one side of a d-ring and sew to one side of bag top. Reinforce with by top stitching 1/8" from edge. Repeat with other side.
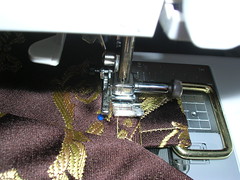
11.) Fold 2" section of one end of the strap (RS facing) over the other side of the d-ring and sew 1" from the folded end. Reinforce by top stitching 1/4" from edge. Repeat with other side, taking care not to twist the strap.
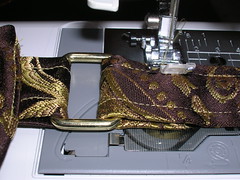
12) Admire your finished bag!
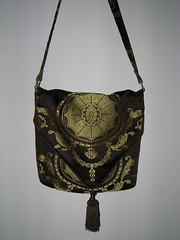
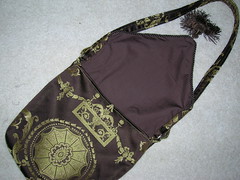
Mods:
* To give your bag more shape, turn runner inside out (before step 2) and cut fusible interfacing the shape of the runner. Iron onto WS of the fabric (not onto the liner) per manufacturer's directions and trim, if needed. Continue from step two.
* Omit steps 4 and 5 for a flat bag
* Omit steps 9 and 10 and simply sew the straps directly to the body of the bag.
* Add a magnetic closure or snap to your bag to secure flap.
***This pattern is for personal use and may not be used commercially without the express written permission of Tanya Brooks.


